
Download Files
Download options depend on item type, file availability, workflow state and your permissions. Item pages and selected result sets can expose download options when you have access.
- Open the item, result list, folder, collection or selection.
- Choose Download.
- Review the number of items included.
- Select the required media options for Image, Video, Audio or Document where they are shown.
- Use Download to Folder, Download Zip or Download to Export Folder according to the delivery route.
- Use advanced filename or export-folder options only when they are needed for the delivery.
Check Workflow States, Locks and Permissions
Workflow state, item locks and permissions are part of controlled delivery. Item pages can show whether an item is active, locked, restricted or otherwise unsuitable for public use.
- Check the item status before sharing, downloading or publishing material.
- Use Permissions from the item action menu when access needs to be reviewed.
- Use Locked Items to find records that may be stuck in edit mode.
- Use Force Unlock only when you understand why the lock exists and have authority to clear it.
- Escalate unclear workflow states, locks or permissions to a System Manager.
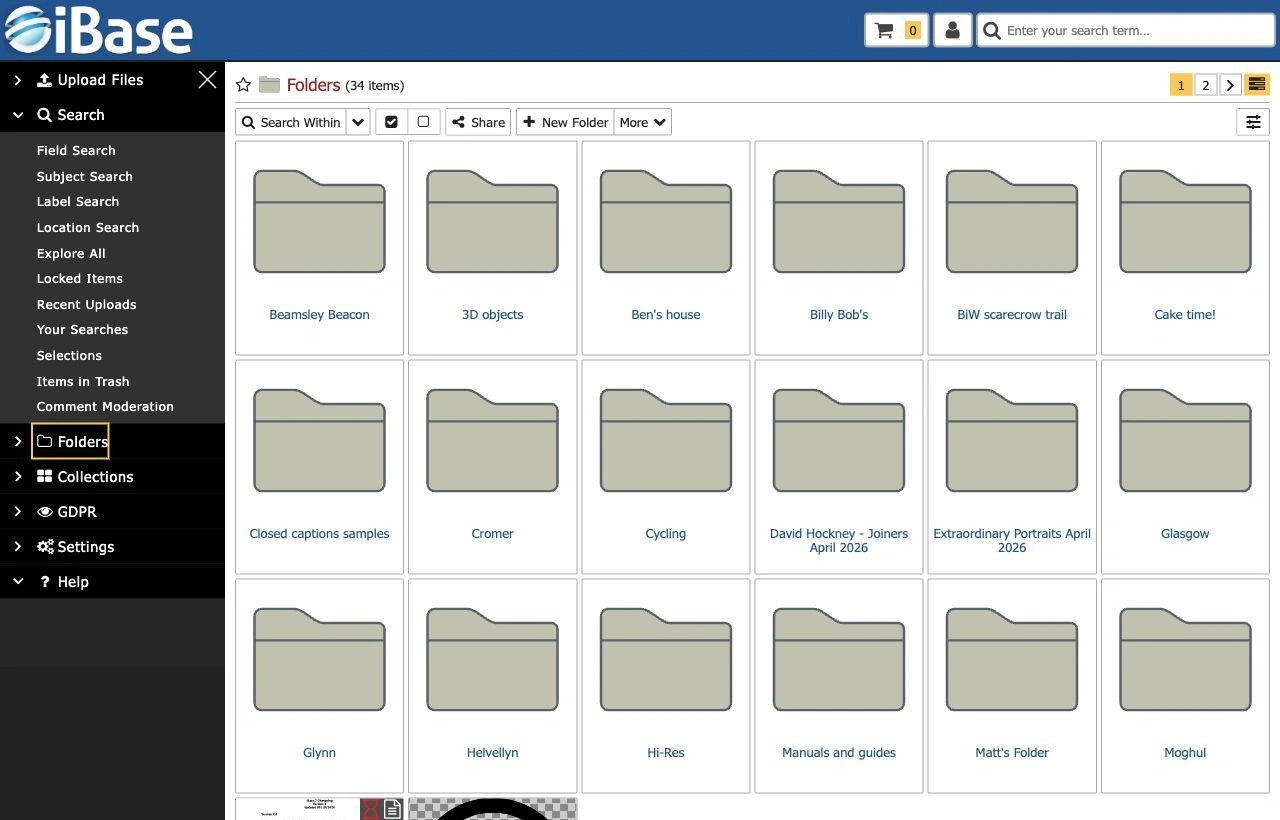
Use Folders for Operational Organisation
Folders are useful for upload destinations, team organisation and internal work areas. The upload and create screens both use folders as destinations.
- Create a folder with a clear name and parent location using New Folder.
- Use Rename Folder or Details when folder-level information needs review.
- Use Move Selected into this Folder only after checking the selected set and destination.
- Use folder membership to group operational sets of content. An item normally belongs to one folder.
- Check Access / Permissions before using a folder for sensitive material.
- Remember that folder access may inherit from a parent folder, and inherited permissions may need a System Manager to review.
- Use folders as a starting point for searching, selecting and downloading known groups of content.
Use Collections for Curated Groups
Collections bring related items together for projects, public pages, highlights, review work or controlled sharing. Unlike folders, collections can refer to items without moving them from their folder.
- Open Collections or choose Add to Collection from an item action menu or result set.
- Use New Collection, New Collection with Selection or an existing collection as appropriate.
- Use Add Selected and Remove Selected only after checking the selected items and current collection.
- Use a clear collection name and place it in the right parent location where applicable.
- Use Details, Rename Collection, Edit Smart Collection or Access / Permissions when collection information, rules or access need review.
- Review related items, permissions and public visibility settings before using the collection externally.
Create Smart Collections
A smart collection is driven by search criteria rather than a fixed manual list. Use it when collection membership should update as items match the saved rules.
- Run and refine the search that describes the required set.
- Use the result page More menu and choose New Smart Collection.
- Name the smart collection clearly.
- Use Edit Smart Collection when the saved rules need review or adjustment.
- Review the criteria before relying on it for public or operational use.
Use Lightboxes Where Available
Some iBase sites include Lightboxes as a separate area for saved or personal working groups. Use them when your site provides them for shortlists, review sets or reusable groups that do not need to become formal folders or collections.
- Open Lightboxes from the Search menu where it is enabled.
- Use clear names so saved groups can be recognised later.
- Check the items in a lightbox before using it for sharing, download or review.
- Delete obsolete lightboxes when they are no longer needed and local policy allows it.
Check Access Before Delivery
- Confirm workflow state and permissions before sharing externally.
- Check content warnings, consent status, rights and commerce restrictions.
- Use selections to review a group before download or sharing actions.
- Use item-level Collections with this item to understand where an item is already being used.
- Escalate uncertain permissions to a System Manager or collection owner.